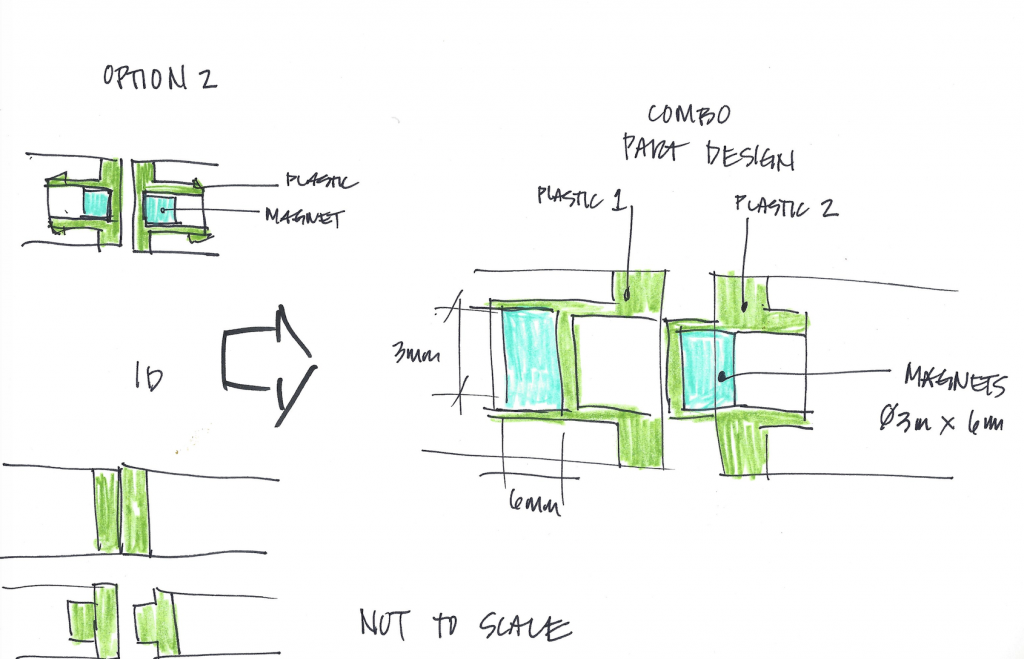
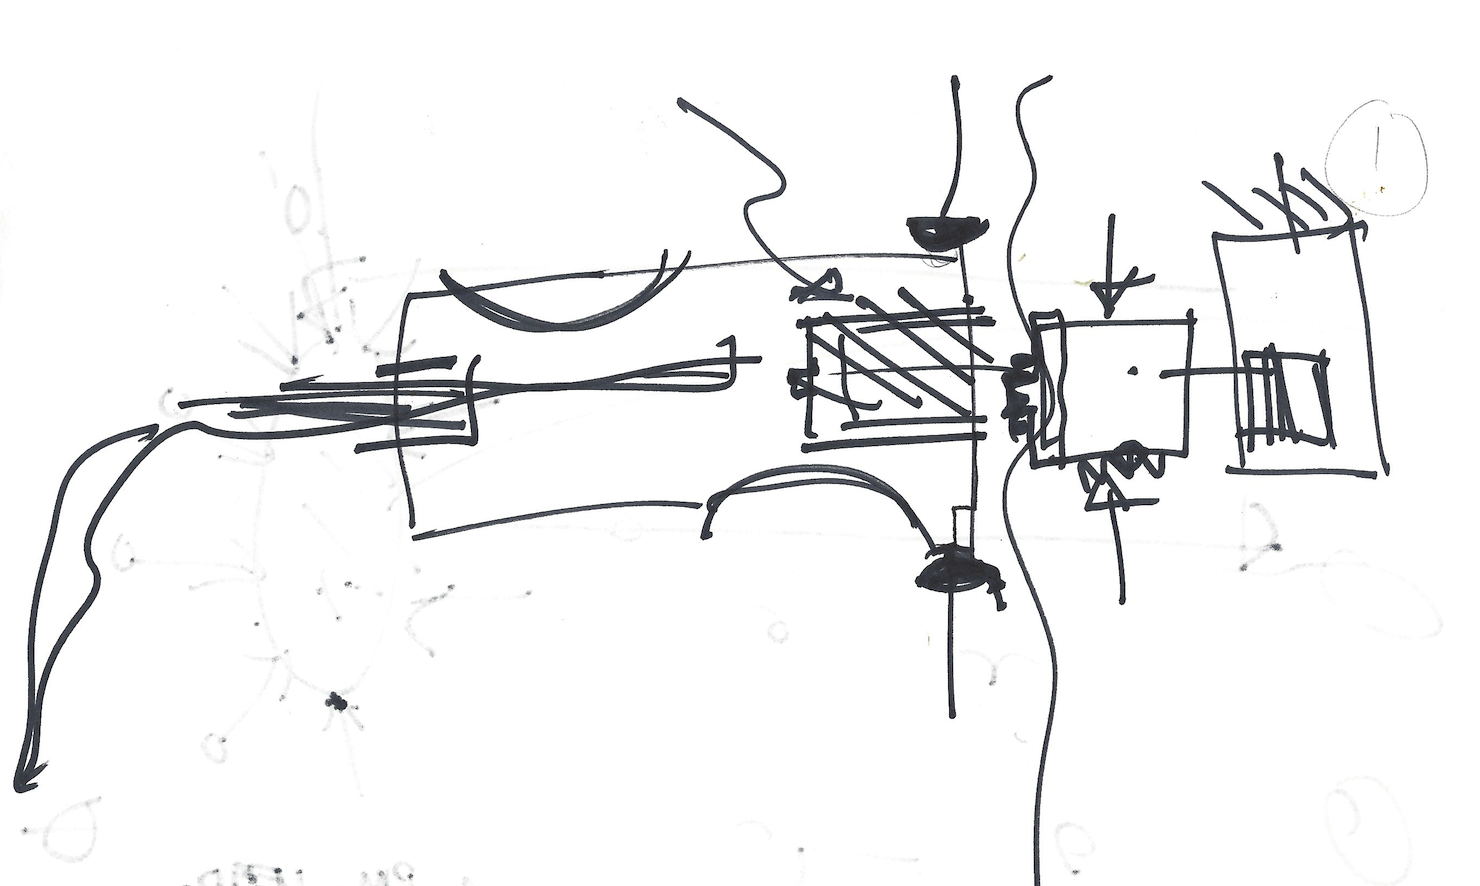
There have been a number of requests to share a “How to Sketch” blog. Inspired by Brian Baker’s recent LinkedIn post about measuring and sketching, I figured it was about time to share how I learned this skill set.
I’ve painted my whole life, starting with paint-by-numbers when I was young. The first one was purchased by Santa. Clearly he knew how much I would thrive with numbers, colors and patterns. I evolved to oil and more recently watercolor. All good paintings ultimately start with an accurate sketch of what you’re painting. I am fortunate that I started my sketch practice at a young age.
THE SKETCH
My time at Ziba Design emphasized the importance of being able to communicate what is in your head – clearly and quickly. Being able to brainstorm and illustrate ideas and concepts makes an engineer a creative contributor to any product development phase. Engineers that cannot sketch their ideas are limited to what they can ‘illustrate’ in CAD, putting the energy into modeling up forms instead of continuously generating ideas.
THE HOW TO
My art background in painting, illustrating and graphics before becoming a mechanical engineer set me up for a solid sketch advantage. The next best thing was having Sohrab Vossoughi, founder of Ziba Design, share his knowledge of how to sketch. He taught sketching at San Jose State University.
Step 1: Sketch pages and pages of lines on 8 ½ x 11 paper. I recommend Hammermill 24# paper which is smoother and heavier than the average printer paper. I guarantee it will save you money in not ruining your expensive sketch pens. Draw straight lines- not fuzzy ones, not curved ones. Place your pen on the paper and look to where you want to end the line, not at the tip of your pen. With practice, your lines will become straight, long and smooth.
Step 2: Sketch pages and pages of circles. All sizes and all over the place. Pages and pages of circles, every day for weeks. Concentric circles, large circles, tiny circles. Put the tip of your pen on the paper and don’t lift up until the circle is closed. I use my favorite pens I found while learning to sketch at Ziba. I’ve suggested these sketch pens to every engineer I’ve mentored. They are the PILOT Fineliner. Amazon sells them now!
Step 3: Sketch in perspective. Sketch two points horizontally in a line on your paper and then sketch all lines going to these vanishing points. Here’s a link that shows the basics with examples using beautiful watercolor paintings. Sketch pages and pages in perspective. Sketch doors, windows, sidewalks, alleys, boxes. A lot of boxes.


Step 4: Trace. Print out pictures you like and trace them. Print out complex assemblies and trace them. Print out CAD images and trace them, and then sketch new concepts on them. This is the magic! A lot of engineers use their CAD as an underlay. This is a great jumping off point to sketching ideas and concepts without an underlay.

Time spent practicing putting pen to paper to illustrate your ideas will benefit you in your career for the long haul. Sketching is something that is cumulative over time. It stretches your brain and will add value to your communication skills whether it’s in a group brainstorm, a strategy session with the CEO or sharing thoughts on a whiteboard during a meeting. Practice your first cartoon on a napkin during your next coffee shop visit! Promise, it’ll be fun.

